Best Photos for an I Wanna Love You AI Video
 I Wanna Love You AI Team
The photo decides most of the result. What makes a good source image for the trend, why group photos and dark selfies fail, and how to fix a render that drifted.
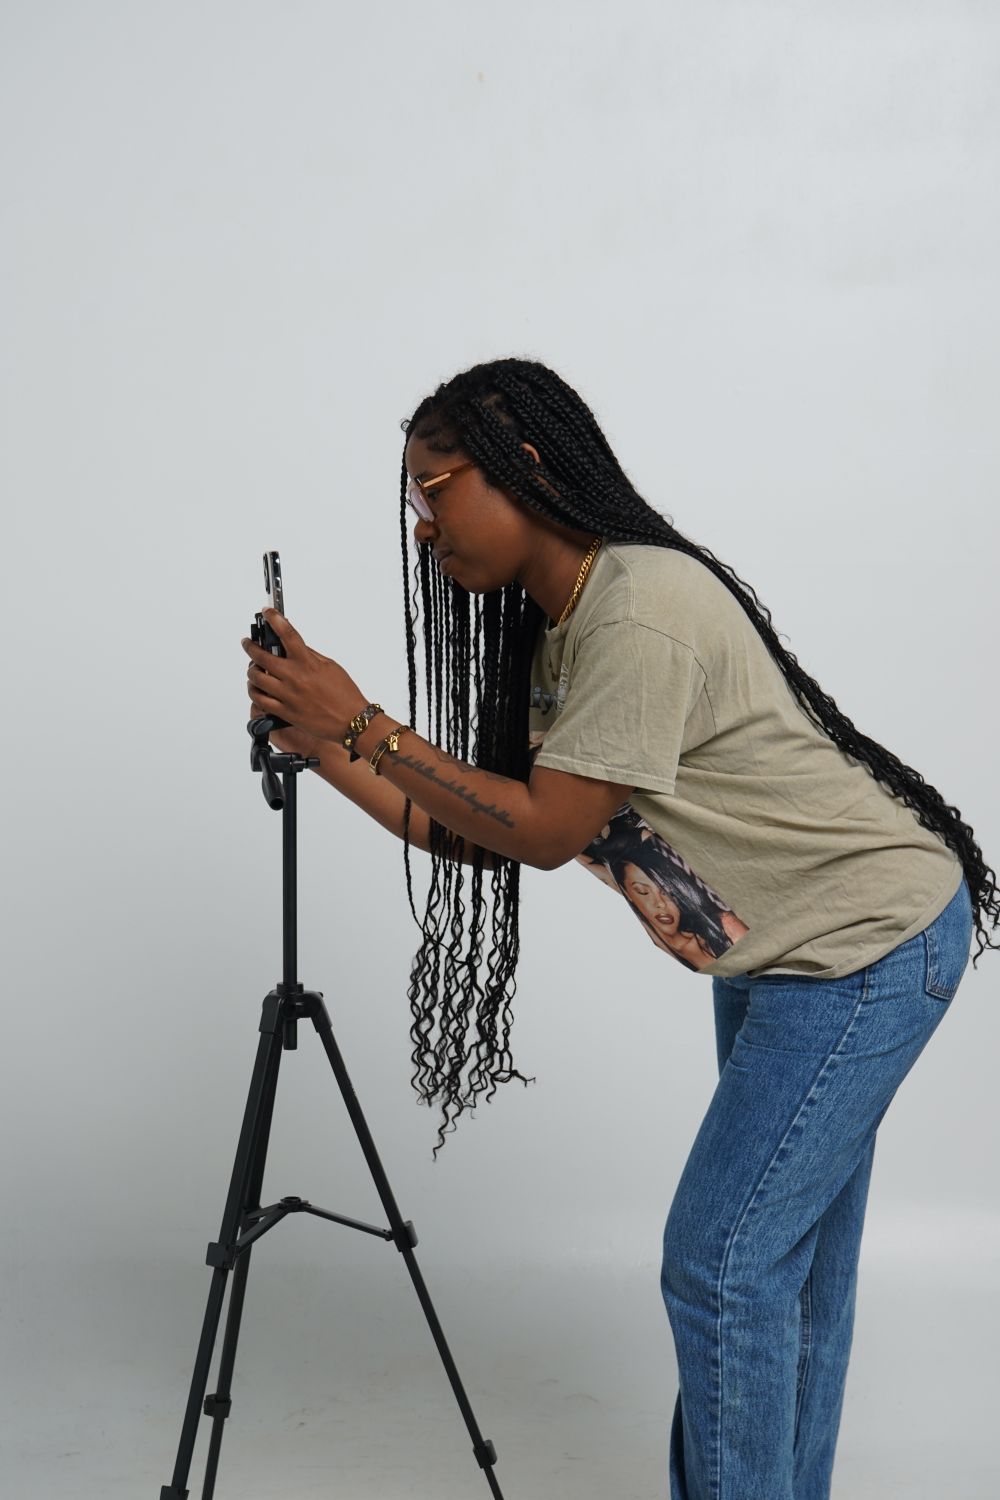
A photo-to-video model can only reuse what it can see. That single sentence explains most of the difference between a render that looks like you and one that looks like a distant cousin. The model is not remembering your face from another photo; it is reading this one.
This guide is about choosing and preparing that one image.
The five things that matter
- The face is clearly visible. No sunglasses, no hat brim over the eyes, no hair covering half the face.
- The light is even. Daylight or a well-lit room. A hard side-light creates deep shadows that the model may interpret as part of the face.
- One subject. One person or one pet per photo. A group photo forces the model to guess.
- The face is large enough. A tiny face in a wide shot gives the model too few pixels.
- The image is sharp. Motion blur, a smudged lens, or a heavy beauty filter removes the detail the model needs.
That is the whole checklist. Everything else is a preference.
Why the face angle matters
The routine involves a large head rotation: the camera starts close, then lifts overhead while the performer leans back. The model sees the face from the front, from below, and almost upside down. A photo taken straight-on gives it the most information to extrapolate from.
A profile photo or a three-quarter turn can still work, but the model has to invent the missing side of the face, and that is where likeness drifts. If you have a choice, use a front-facing frame.
Why the body matters too
The routine is not a talking head. The shoulders, arms and outfit are part of the performance. A knees-up or full-body photo lets the model reuse your clothes and body proportions. A tight headshot forces it to invent the rest, and invented clothing is a common source of artifacts.
If all you have is a headshot, the render can still be usable, especially at 480p where the details are smaller. But a full-body or knees-up photo is the better input.
Group photos: the most common mistake
A group photo is the single most common reason a render looks wrong. The model has to pick one face, and it often picks the one that is largest, most central, or most in focus. If that is not the person you wanted, the result is visibly wrong to everyone who knows the group.
The fix is simple: crop the photo to one person before uploading. Do not rely on the model to choose.
Pets: a different checklist
For a dog or cat, the eyes and muzzle need to be visible. A sleeping ball of fur gives the model almost nothing. A front-facing photo with the markings clear works best. One animal per photo; a second animal creates the same subject-selection problem as a group shot.
The model should keep the pet’s own eyes and mouth rather than pasting a human face onto it. Fur and markings can still shift between frames, especially during fast movement.
Filters, beauty mode and AI upscalers
Heavy beauty filters smooth away the exact details that make a face recognizable. An AI upscaler can also invent texture that was never in the photo. Both make the source look “cleaner” and the render look less like the person.
Use the original photo if you can. If the only version you have is filtered, a mildly filtered photo is still better than no photo, but expect more drift.
What to do when the render looks off
Before blaming the model, change the photo. The usual fixes, in order:
- Crop to one subject. Remove everyone else.
- Use a brighter frame. A dark selfie is the second most common cause of drift.
- Face the camera. Replace a profile shot with a front-facing one.
- Remove the filter. Use the unfiltered original.
- Try 720p instead of 480p. More pixels help the face, though resolution cannot fix a bad source.
If the face is right and a hand is strange, that is a model artifact, not a photo problem. Rerun once; generation has variance. If the whole clip is unusable, a different photo is more likely to help than a different prompt.
A photo checklist you can keep
- One person or one pet.
- Front-facing.
- Even light.
- Sharp, unfiltered.
- Face large enough to see the eyes.
- Your own photo, or a friend who agreed.
- No celebrity, no stranger, no child.
That is it. The best photo for this trend is not the most artistic one; it is the clearest one.
If you want to see the full workflow, read how to make the video. If you are still deciding between a template and a generator, the comparison covers the trade-offs.